Sunday, August 24, 2014

I love my Cotswold Fleece!

Finally, MORE WOOL!

Boy, doesn't it get old.....another apology for not blogging regularly?!  Yeah, yeah, we have heard it all before!

Well, I am here now...

I have been busy with my Cotswold Fleece!  I have been dying it, picking vegetable matter (vm) out of it, washing it.  Every weekend!

I have been spinning a bit, too.  I first spun this:
After many months of indecision...I have decided to name my yarn label:   M'Lou Roo....I even made labels!


There are:
 2 skeins of Black Cotswold.....my Rachel, a skein of Leah, a huge skein of I-Don't-Know-What (probably Romney).  I spun Rachel from roving that I had processed at Arizona Fiber Mill, in Prescott.  http://www.arizonafibermill.com /  Leah's skein was spun by just combing the locks and spinning on my Baynes spinning wheel.  The large skein, I found in my stash....I am pretty sure I spun it when I was living in Seattle.  The smaller skeins on the right are some pretty fine yarn that is from some raw Merino Fleece I brought back from New Zealand......over 15 years ago!

 I took Rachel's and Leah's (both Cotswold sheep) first fleeces up to the mill to get processed.  Rita and her crew did a great job!  I had them only pick and clean Leah, who is white.  And Rachel was made into roving.  While that was being processed (it takes a few weeks because they are so busy), Aimee Leon (my fan-tab-u-lous shearer lady!) sheared the Girls again!  I have been cleaning that on my own, and trying to be very careful to leave as much curl in as possible.  I have heard it makes great doll hair and Santa Beards.  I have started trying to spin Core spun and Tail spun art yarns with the fabulous curly locks!  But I digress.....The photo above is yarn I spun for Aimee.  She is working on a huge wool art installation involving wool yarn from all over the world!  Here is the link to the web page of that project. http://www.herdbeast.com/

So far, here are my biggest influences in trying to relearn how to spin fine yarn and art yarns:
 Judith MacKenzie
Margaret Stove (I actually met her in New Zealand!)
Natalie Redding from Namaste Farms
 Ashley Martineau

Here are my first attempts at "Art Yarn":

So many blues!  This yarn was not exactly core spun.  It was core-less spun.  It is one ply and I actually just plucked and shoved and pinched the fiber as it twisted into my wheel.  For art yarns,I have a Louet S10 wheel.......my first wheel.


 Purples and pinks.....boy, I guess I need some photography lessons!  This was my tail spinning attempt.  I did not follow "the rules", and again, I spun without a core.  The locks are mostly curly on one end but frizzy on the cut end.  I just sort of kept adding locks together and letting them twist into a yarn.  This skein is about 25 yds!  (I think that is pretty good for tail spinning!)


Sunday, January 26, 2014

FIBER!!!

No, not eating it......spinning it!  I am finally getting around to spinning the Leah's first shearing.  Since Rachel and Leah (we did not name them) are going to have to get their hairs cut soon, I thought (well, darling hubby thought) I had better get stuck in to doing something with the first batch!  I washed a bunch of Leah (the white) and have been carding it and spinning it.  I can't wait until I have a full skein!
Some of the locks are 10" long!

All picked and ready to card.....just like a cloud!

Almost a whole spool.

My Baines upright spinning wheel from New Zealand.

The poor wool is full of vegetation.  I may have to give up and take it to Arizona Fiber Mill for cleaning.  It is spinning up real nice and fine, though!
Leah's First Haircut

Leah's First Fleece

Leah
Rachel 

More past projects

Sound of Music

Before/After
I bought 2 of these fun shabby chic chairs from my favorite Antique Strip Mall, but sadly, had to reupholster them to fit into the Von Trapp house for Sound of Music.  I also did a sofa and 2 other chairs for the show.  Nick Mozak, our designer from Chicago painted the wood, and I just kept on stapling.


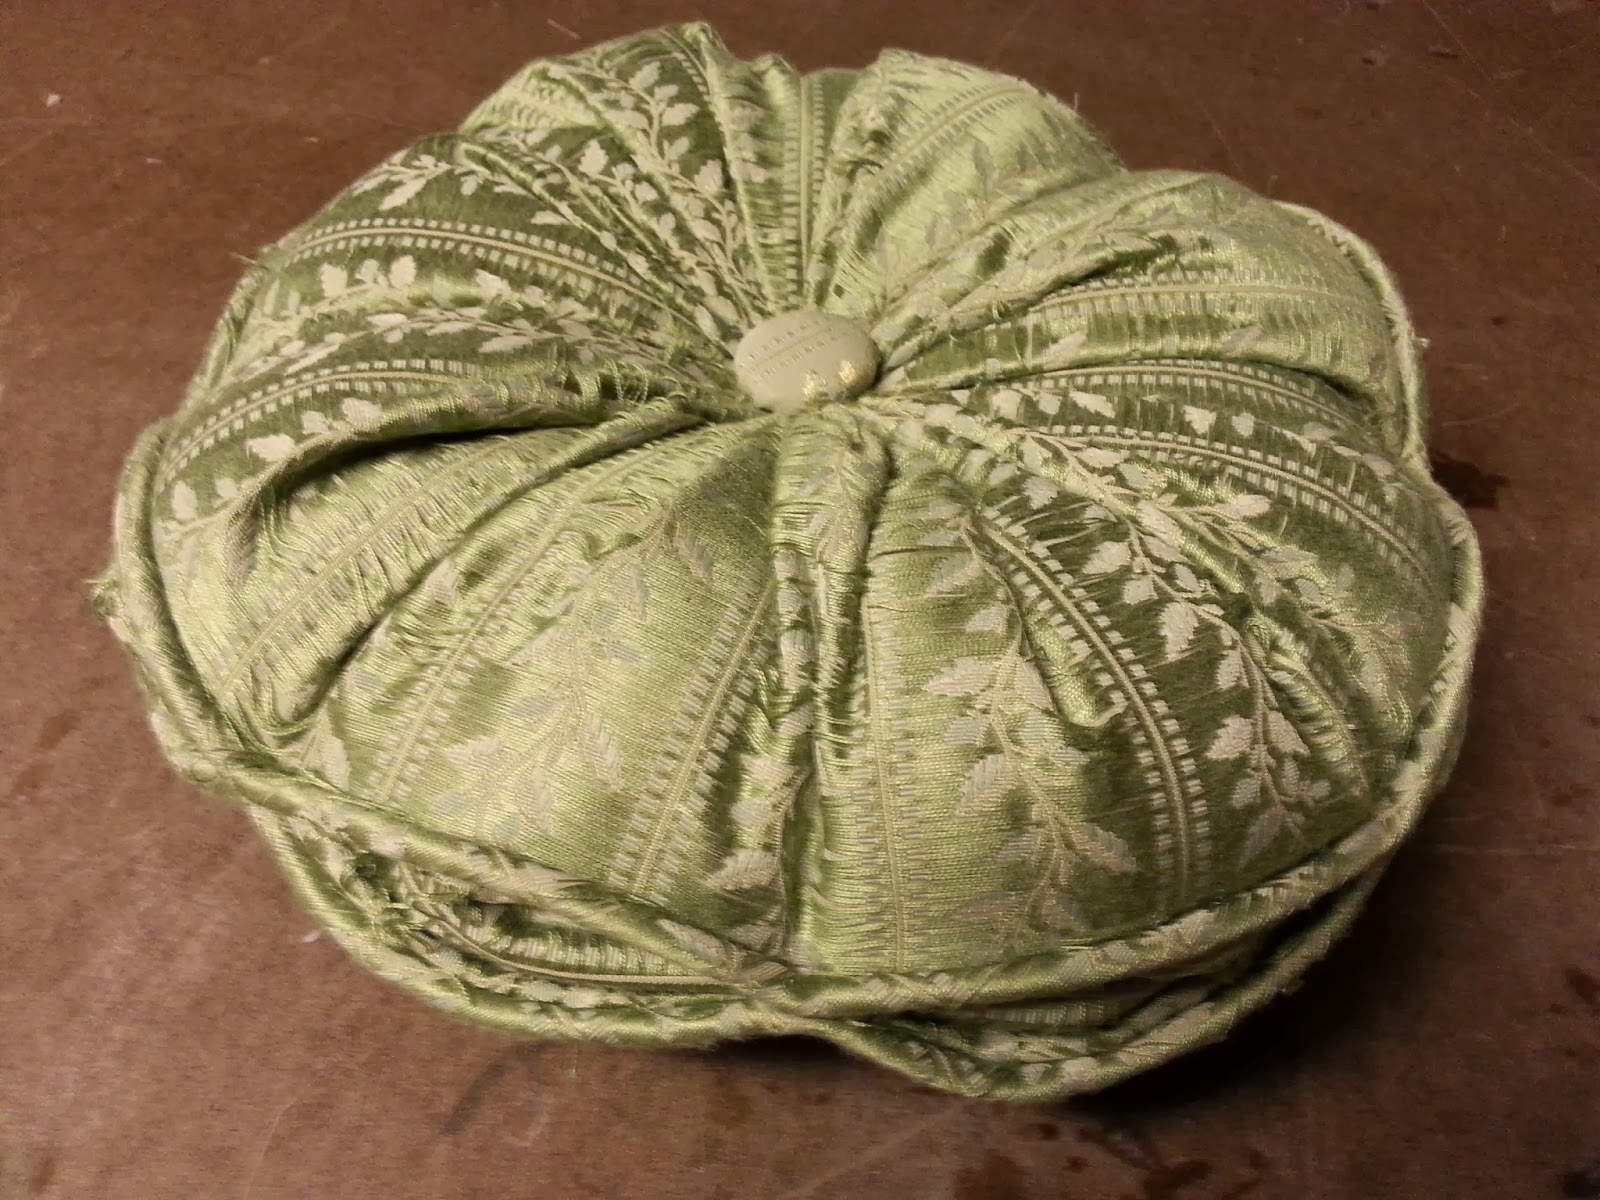
I made 2 cute pillow to go on the sofa.....

Hay carpet
Kim mostly made this hay carpet thingy that went inside a hay cart.  She spent DAYS tying string and yarn to bird netting.  It was worth it in the end, as it has already been in two shows!  Doesn't it look like fluffy straw?

 I made this Prie-Dieu (a prayer kneeler) ALL BY MYSELF!  I am trying to work on my Prop Carpenter skills.  Sadly, it was cut from the show for needing to be placed in an awkward spot on the set that everyone was running into with their Nun Costumes!!  


Thanksgiving Lefse & Chocolate Covered Cherries

For Thanksgiivng, we went to Gramma's in Pahrump, Nevada.  We made over 200 chocolate covered cherries.  My Mom's recipes for both the cherries and the lefse have been used nearly EVERY YEAR for the past 50 or so!!!
Fondant of powdered sugar and Eagle Brand Milk

Dipped in any kind of melted chocolate

I felt like Lucille Ball with all that candy!


We had two lefse griddles going to make this traditional Norwegian  food that we always have around the holidays.  Spread with butter and sprinkled with sugar is my favorite way to eat it!


Arizona Craft Rave

Nickela & I had a table at the Arizona Craft Rave this year. Nikki taught how to make the cute butterfly necklaces, and I taught making charms and bobby pins with cabochons and fun beads and paper decoupage.  We had a blast!


Seven Brides for Seven Brothers

There are lots of fun props in Seven Brides!  I made 6 fake axes that men have to dance with, a fake stretched animal hide.  (When asked what animal, the scene shop boys thought I should say "Nawga"!)


Future Fake Axes


I also resolved myself to researching an making some snow shoes!  I got a bit obsessed.  They are a nice touch on the trapping cabin in the winter!  I dare say, they look pretty real....but I wouldn't test them against any polar bears!

Catching Up....

Sad to say, I just worked hours on a new post....only to discover it vaporized!  But in doing that post,I also discovered that I need to learn a bunch more about formatting because that was what took me so long!  I would just get the page to look right while I was creating it, and then I would preview it and it would look way different!!!  So here goes with a second try.... 


I have been working on all sorts of props and crafts lately.  I am going back into Dropbox, to see what is on my Camera Uploads:

Food Props!

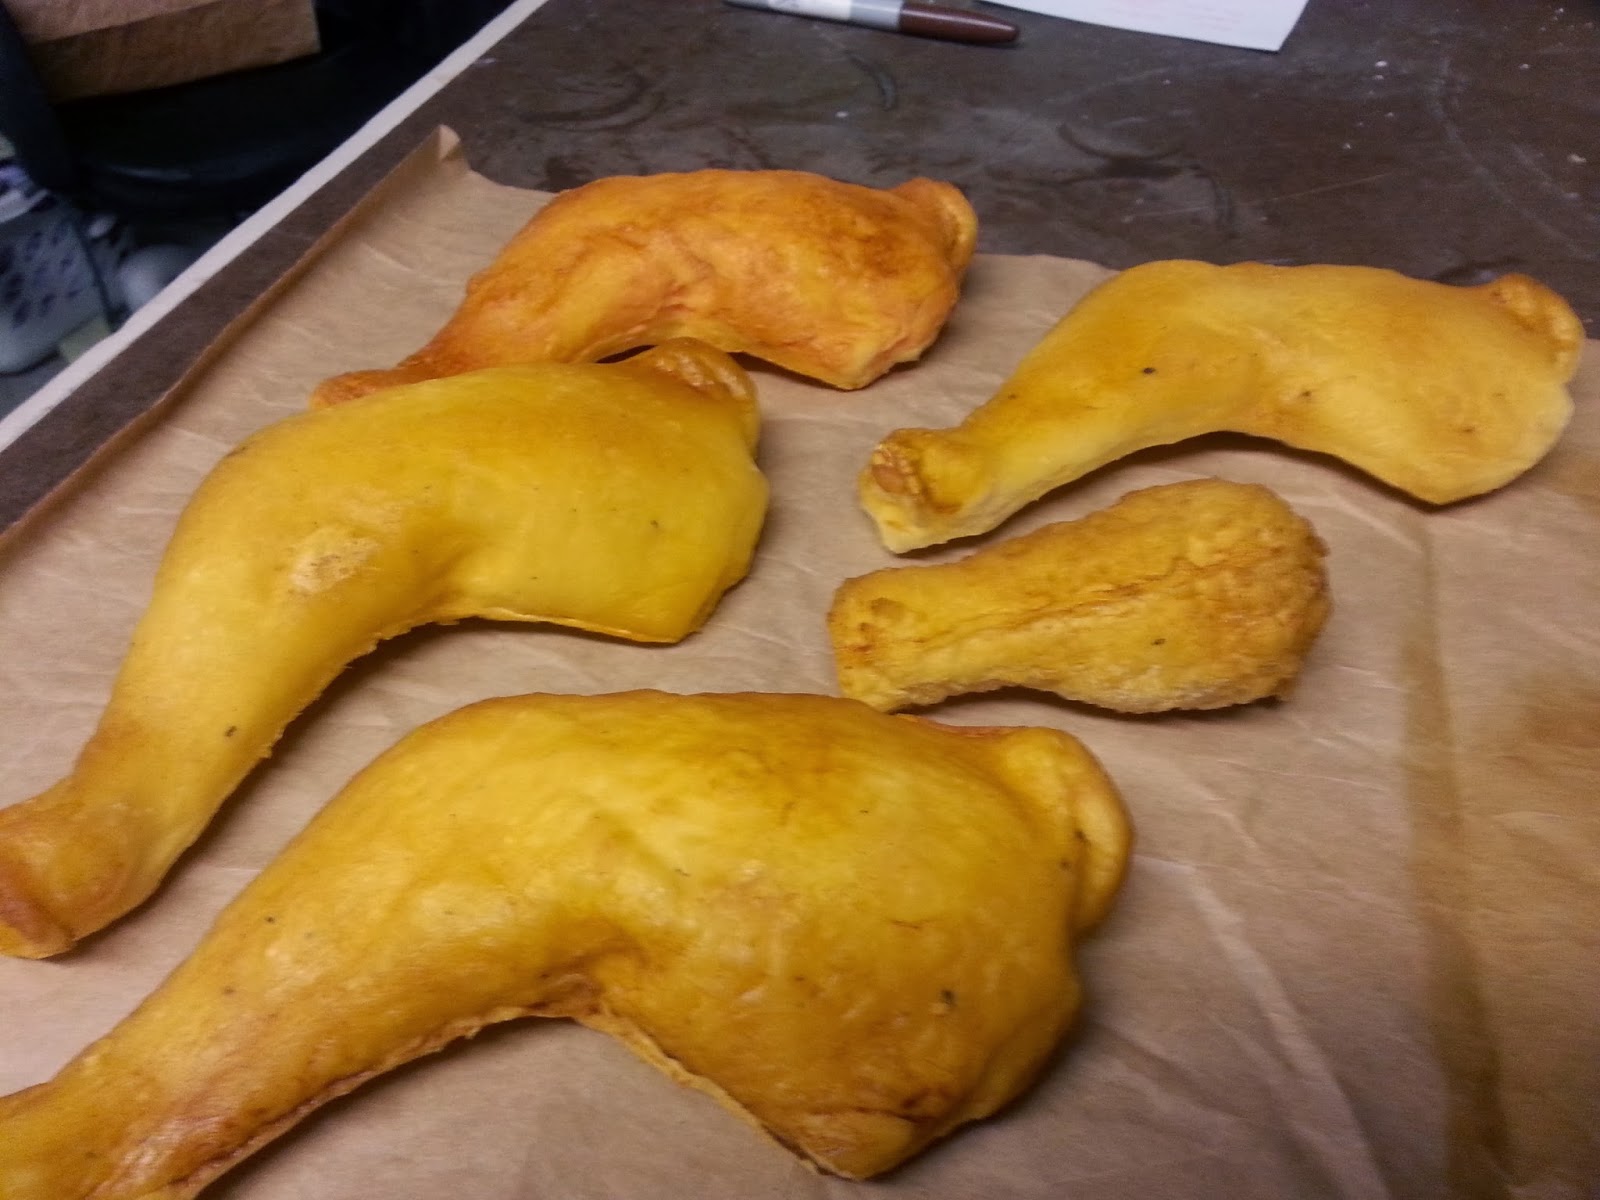
Kim (my AWESOME intern) & I did a whole bunch of fake chicken for Seven Brides for Seven Brothers. We made molds of actual real fried chicken!  We tried molds of plaster and of Silicone Rubber.  Both worked good, only for plaster, you have to do a two-part mold, and the chicken gets a bit gross....be sure and do both parts in the same day!  (Freezing the cooked chicken is the best idea, too)
     Once the molds were done, we coated them with Holden's Casting Latex to form a rubbery skin.  Once it cured, we poured Smooth-On's FlexFoamIt 5.  Because we also put a bit of baby powder in the mold before the latex, the chicken came out looking like it was all floured and ready for the fryer!  
     Next came some sprays of Honey Stain from Design Mater Paints and a darker brown.  The finish chicken is in Seven Brides, I will try and get photos of the Finger Lickin' Good Final Product!

Joseph Throne

The scene shop recycled a 2x4 clunky chair for Joseph (and the Amazing Technicolor Dreamcoat) to make a throne.  They added the curves, I added the Barbie heads, claw feet and paint. (With Kim's help, of course.)  We also made the feather fans.  (This time, my assistant Minnie helped!)


I am going to publish these now, in hopes of NOT losing it to the CLOUD!

Sunday, November 10, 2013

Upholstery Week

This week I am upholstering about 11 items!  I have 5 Ethan Allen dining chairs that I took on as a side job.   Then I have 2 pair off of side chairs,  a sofa,  and a prayer kneeler ("prie-dieu"). 

I am now an expert on double welting, thanks to a new Bernina welting foot!

Sunday, September 8, 2013

Trailer Trash

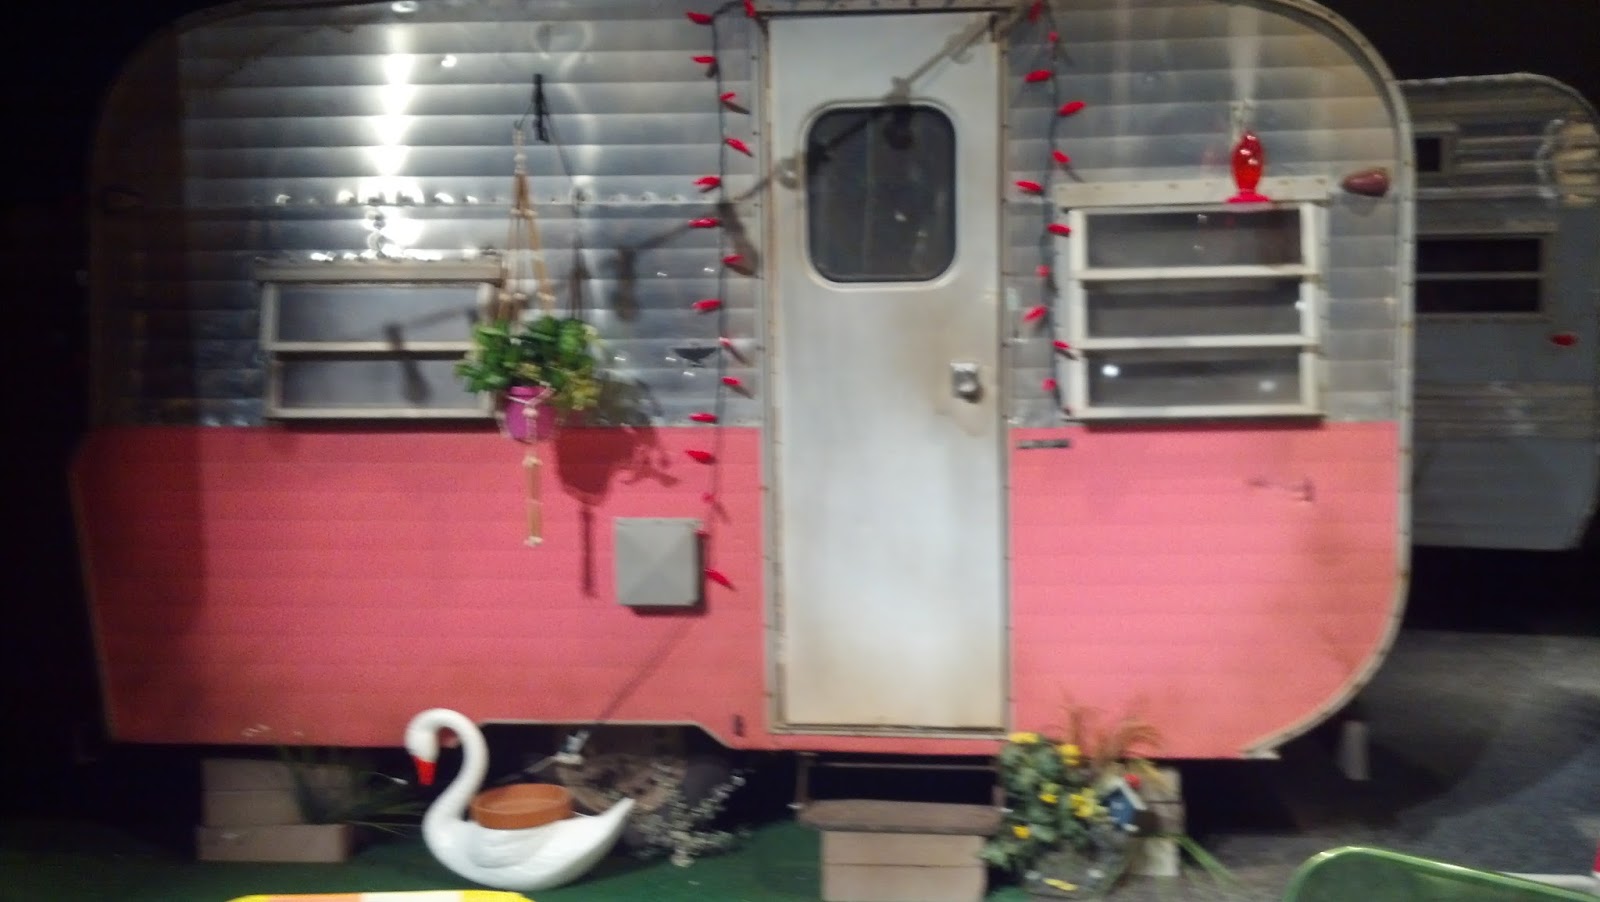
Once again, more time than I planned between posts!  We just opened "The Great American Trailer Park Musical" at ABT.  I got to add my mark in the form of set dressing with pink flamingos, weeds and a satellite dish.  The center trailer spins, and inside is a treasure trove of nick nacks.  I will post those later.  (I hope!)
The Gartsecki's trailer that spins
Pippi's trailer


Full stage shot...final dress rehearsal

I made the black satellite dish in the background.
My favorite corner!

Sunday, May 12, 2013

About time.....

Boy, it is about time to make a new post!!!  I just got asked to be in Into The Woods at Arizona Broadway Theatre, and since I am publishing this blog address in my bio, I figure I had better keep it active!  Who knows, maybe someone will actually READ it some day!  I have tons of things to post, but I will start with this photo of my harp that I am making for Into the Woods.  Styrofoam props take a particularly long time to make.  First there is the drawing out of the pattern, the tracing onto the foam, cutting the layers, gluing it together.......then carving in the details.  After that, I have to make it strong enough to be hauled around on stage and stored back stage without breaking.  I have coated it in Sculpt or Coat and muslin.  The next step is to paint it and paint on more details.
The harp....before the muslin coating.

Sunday, August 5, 2012

My first handbag!


This is  a handbag I made to celebrate the opening of Will Rogers Follies at Arizona Broadway Theatre.  I found this great website called U-Handbag.  It has awesome patterns and tutorials for all kinds of bags.  I LOVED learning how to put a purse onto a frame.....it looks so professional!  Now I have to make labels.  Nickela and I have opened a store on Etsy but we don't have much there, yet.
Here is the etsy link: http://www.etsy.com/shop/MLouRoo

Sunday, July 1, 2012

Happy July fourth week

I thought I would post this patriotic photo of ribbon I cut to make a Ribbon Drop for Will Rogers Follies.  It will take 140 ribbons at 18 ft in length, all sewn on a strip and weighted.  While I was cutting it felt very festive and I really just wanted to festoon a Better Homes & Gardens house with it.  We went on vacation instead.


Sunday, May 13, 2012

Costumes!

My friend Stacey Gordon asked me if I could make some costumes for her Old Time Photo Studio in Virginia City Montana.  The one below pays homage to Downton Abbey.  Nickela is my model.  It is so much fun making these clothes!  I just wish I had more time to make a ton more!
Check out Stacey's Photo Shop website:

Thursday, April 5, 2012

What I learned today......

I learned:  MAKE A BETTER BOX!  And:  BUY RICE.....
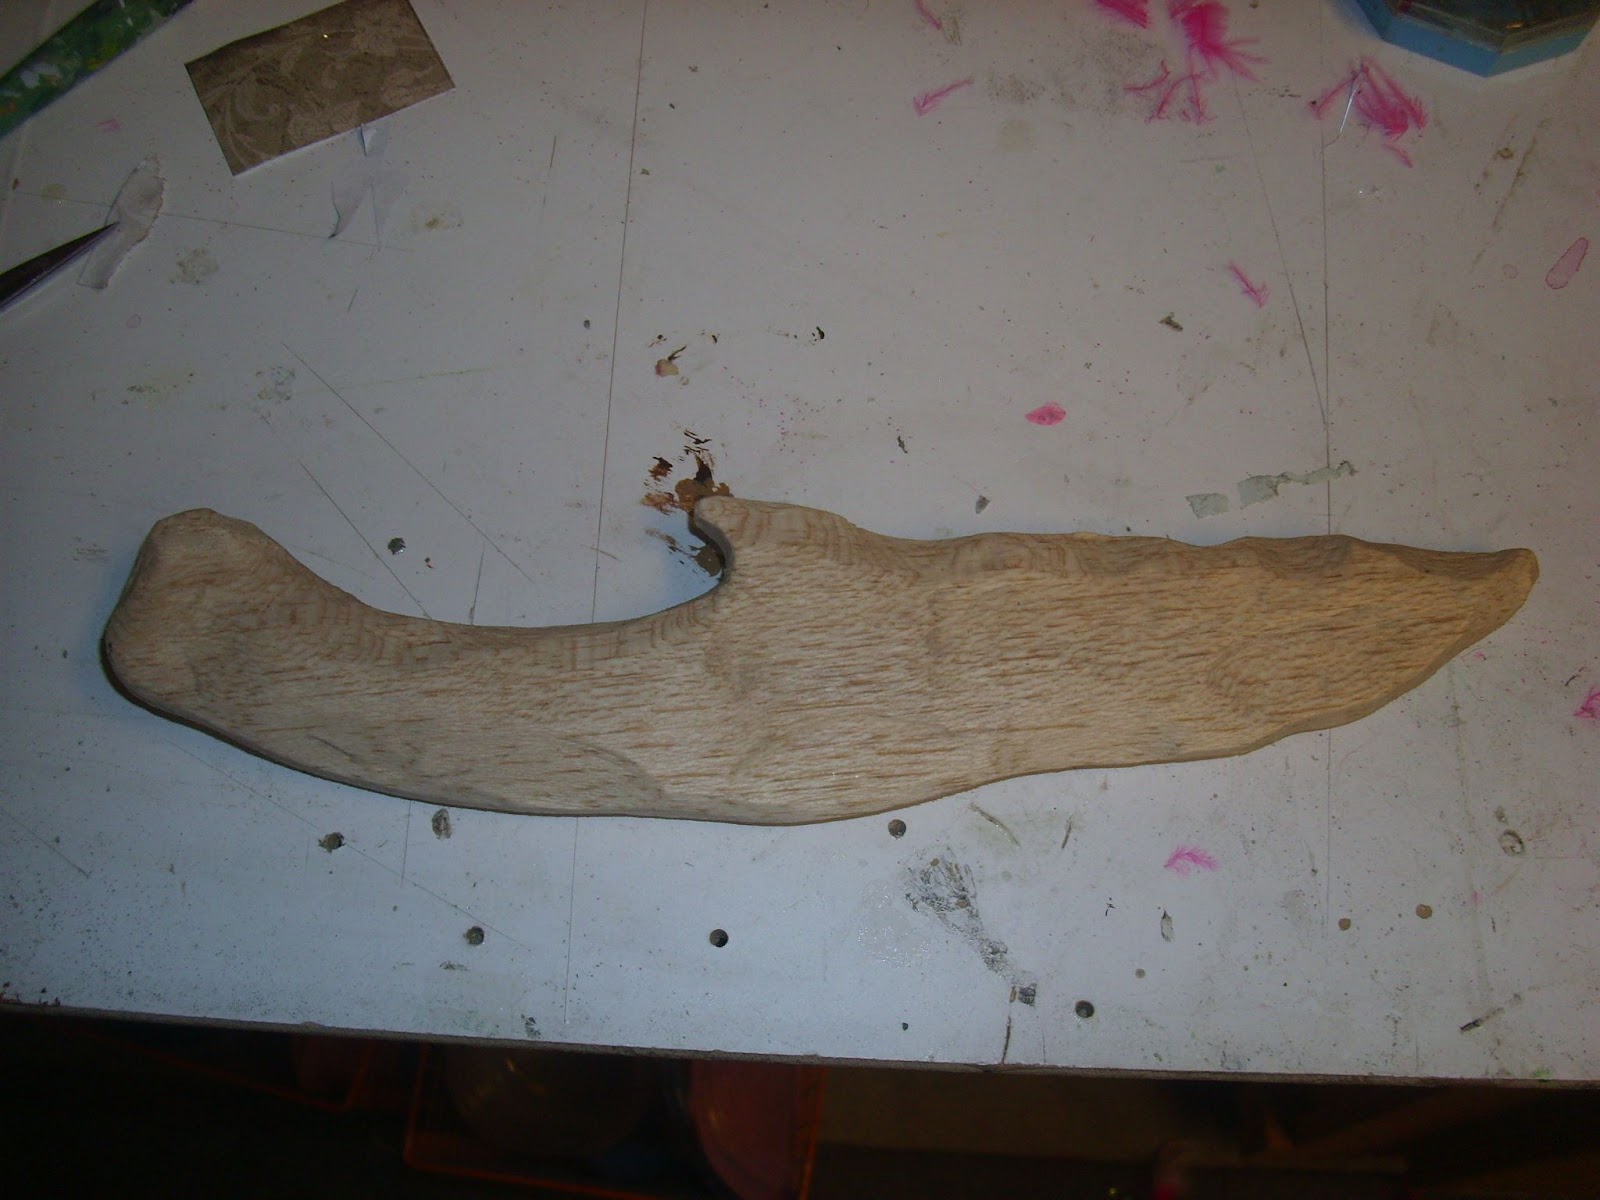
I was trying to make a mold of a dagger for Tarzan.  The You Tube videos from Smooth On (my product of choice) says to make an acrylic box and to ratchet it closed, then pour the rubber over your model.  Another You Tube video had said that really, any acrylic rectangle would work to make a box.  My problem with making that kind of box was that I could not ratchet it tight.  The hot glue did not hold my box together and I had an oozing mass of Mold Star 15 (SLOW CURING) rubber all over the table, all over Ally who was filming the process and all over myself!  We hastily tried to scrape some up and save it.  Then I used Corroplast (corrigated plastic like they use in yard signs) to build a better box.  Then I used duct tape for the ratchet and taped the box completely around it!  The result was that the mold finally worked but I have a weird and huge GLOB of cured rubber I don't know what to do with!
The dagger I carved that I am trying to cast in a flexible plastic or rubber.
The cured mass of Urethane rubber....such a waste!
After that mess, I moved on to a successful mold of a spearhead/rock I need to do.  Again, the You Tube videos say to first pour rice into the mold, then pour the rice into a clear container.  This will give you an idea of the volume of liquid plastic you will need to mix to pour into the mold.  Well, I did not do that!!!  (I was in a hurry and Ally was filming and all...)  I mix up the Smooth Cast 320....this only has THREE MINUTES TO CURE!!!!!  I start pouring and have a cup full left!  I race around trying to find older molds to pour the remaining plastic in, I don't want to waste it!  I am telling Ally, there must be SOMETHING we can make!!  I find a couple of molds of flat decorations.  PERFECT!  I start to pour, and SCREECH!  The plastic cures mid pour!


(HARD AS A.......well Hard as Smooth Cast 320!)
Luckily, the casting turned out fine, but still, the WASTE!!!  

Ally is the one that reminded me.....next time......BUILD A BETTER BOX AND BUY SOME RICE!!!
The Better box....duct taped  and waiting for tomorrow, when I try expandable foam to make the dagger....THAT ought to be a hoot!